Baseball pitching is an essential skill that sets the tone for a team's performance. For parents looking to coach their beginner players, understanding the fundamentals of pitching drills is paramount. This article serves as a comprehensive guide to baseball pitching drills for beginners, providing step-by-step instructions on how to effectively practice pitching skills at home or on the field.
Setting Up Your Practice
Before diving into the actual drills, it’s crucial to set up an effective practice environment.
Start with Proper Equipment
To ensure a productive practice session, invest in quality equipment. A good starting point is a Baseball Drill Book, which offers structured routines and tips tailored for beginners. Additionally, specialized training balls can help players refine their grip and throw.
Find a Safe and Comfortable Throwing Area
An appropriate throwing area is vital. This could be in your backyard, a local park, or a designated baseball field. Ensure the area is free from obstructions, has ample room to practice pitching, and maintains a safe distance from bystanders or other players.
Warm Up Before Starting Drills
Like any sport, warming up is essential to prevent injuries and prepare your body for tossing the ball. Simple stretching exercises focusing on the shoulders, arms, and legs can significantly enhance performance. Here’s a quick warm-up routine:
- Arm circles (forward and backward)
- Wrist rotations
- Torso twists
- Leg stretches
- Spending 5-10 minutes on these exercises can help your young pitcher start the session with confidence.
Basic Pitching Drills
Now that your practice area is ready and you’ve warmed up, it's time to begin with some basic pitching drills.
Finger Placement Drills
Correct grip is foundational to effective pitching. Start with the SKLZ Pitch Training Baseball, which features marked finger placement to help players understand where to position their fingers on the ball.
- Grip the Ball Correctly: Have the beginner hold the baseball using the three-finger grip—index, middle, and ring fingers. Place the fingers on the seam for better control.
- Practice Drills: Perform drills where the player holds the ball and releases it without throwing. This helps to reinforce proper finger placement and build muscle memory.
- Encourage your player to experiment with different grips and finger placements to see how it affects their throws. This exploration can lead to a more personalized and confident approach.
Throwing Mechanics Drills
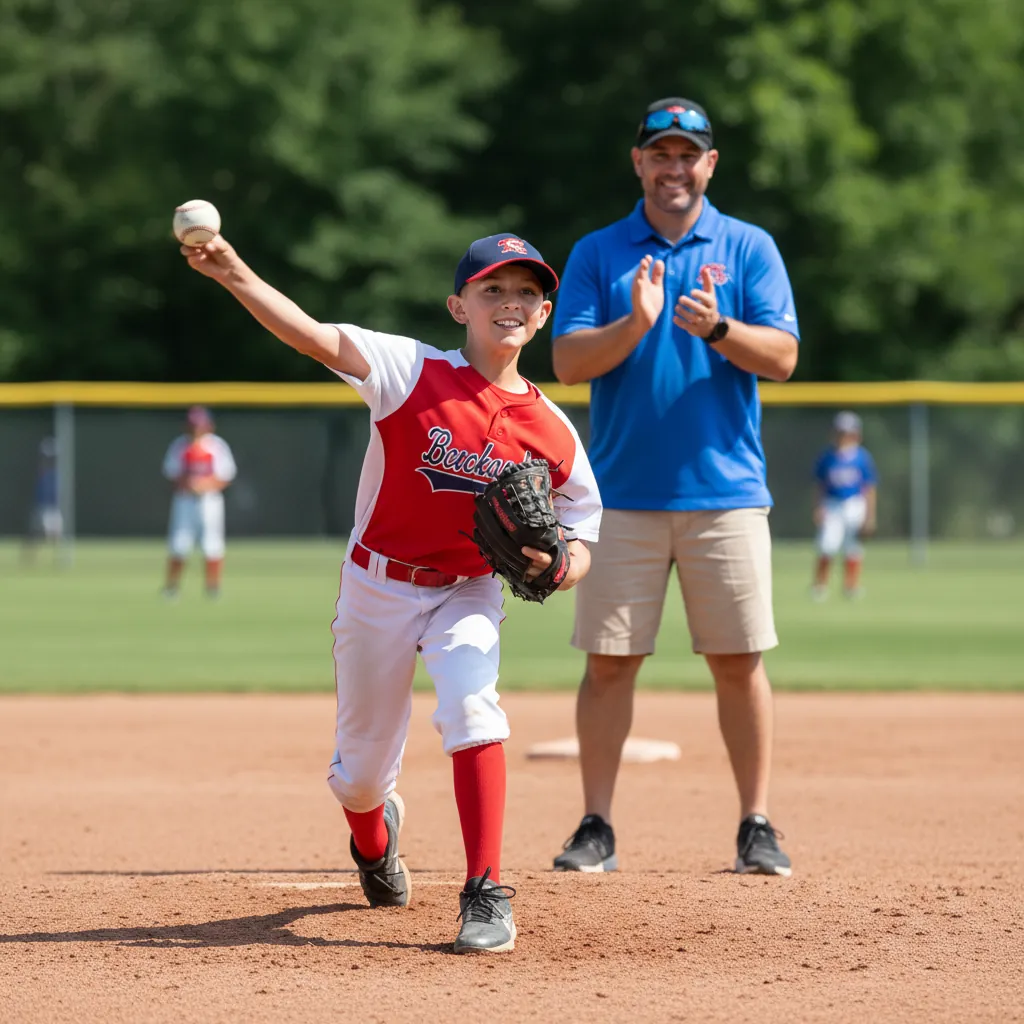
Proper mechanics are critical for gaining distance and accuracy. This part focuses on both stance and motion.
- Stance: Start by having your beginner find a comfortable, balanced stance—feet shoulder-width apart, with knees slightly bent, and weight matched evenly.
- Motion: Emphasize smooth and fluid arm action. Teach them the windup, where the throwing arm moves back while the opposite foot pivots—a crucial part of generating power.
- Arm Angles: Allow them to practice pitching at different angles to demonstrate how various styles (overhand, sidearm) can change pitch trajectory.
- Using a 9 Hole Baseball Pitching Net, which includes a designated strike zone, can provide instant feedback about their throwing stance and mechanics.
Intermediate Drills
Once the basics are mastered, transition into intermediate drills that focus on developing control and decision-making.
Target Practice
Using the 9 Hole Baseball Pitching Net with Strike Zone can transform mundane throwing into engaging target practice. This net features multiple holes, each representing a different pitching target.
- Set Targets: Place the net at a closer distance for beginners or slightly farther for those needing additional challenge.
- Controlled Throws: Focus on hitting specific targets within the strike zone. This enhances both precision and confidence.
- Adjust Difficulty: Gradually increase the target distance or introduce variations in pitching styles.
- This targeted practice not only sharpens accuracy but also boosts morale, seeing visible progress.
Game Situations Drills
Simulating game situations can help beginners adapt to pressure and quick decision-making.
- Base Situations: Create scenarios where the player pitches with various bases occupied (for example, bases loaded, two outs).
- Pitch Under Pressure: Introduce a countdown or a simulated game scenario, urging the pitcher to make quick decisions about which pitch to throw—the fastball, curveball, etc.
- Encouragement: Foster a supportive atmosphere that allows the pitcher to build resilience and learn from mistakes during these simulations.
Advanced Drills
As your player becomes more comfortable, introduce advanced techniques to enhance their overall pitching skills.
Weighted Ball Training
Using weighted training balls is excellent for developing power and refining throwing mechanics. A good option is the GoSports Weighted Training Balls.
- Start with Light Weighted Balls: Begin with a weight that is manageable to avoid injury, typically around 1/4 lb for beginners.
- Resistance Drills: Have your pitcher throw these balls to help increase arm strength and develop a feel for how throwing power can affect pitch performance.
- Progressive Training: As strength builds, gradually increase the weight but ensure that the focus remains on maintaining proper mechanics throughout the exercises.
- This progressive strengthening not only enhances throwing capabilities but also aids in injury prevention.
Video Analysis
Recording pitching sessions can provide valuable insights into technique.
- Set Up a Camera: Position a smartphone or video camera to capture pitching mechanics from multiple angles.
- Review Footage Together: After practice sessions, watch the recordings together. Pay attention to form, flow of motion, and any hindrances that might arise.
- Make Adjustments: Use the footage to suggest improvements and track progress over time. This creates a visual learning experience that reinforces the drills practiced.
Comparison Table: Top Baseball Pitching Drills for Beginners
| Drill | Description | Recommended Products |
|---|---|---|
| Finger Placement | Develop proper grip using SKLZ Pitch Training Baseball | Baseball Drill Book, SKLZ Pitch Training Baseball |
| Throwing Mechanics | Focus on proper stance and motion | 9 Hole Baseball Pitching Net, Youth Baseball Drills |
FAQ: Common Questions About Baseball Pitching Drills for Beginners
Q: What is the most important thing to focus on when starting pitching drills? A: The most critical focus area is the proper throwing mechanics and grip. Mastering these elements sets the foundation for all future pitching skills.
Q: How often should I practice pitching drills? A: Aim to practice 2-3 times a week, allowing a day of rest in between sessions. Regular practice builds muscle memory and confidence.
Q: Can I use weighted balls for beginners? A: Yes, but start with lighter weights such as 1/4 lb. As players build strength and confidence, they can gradually incorporate heavier weights into their training.
---
In summary, mastering baseball pitching requires a structured approach, focusing on the foundations before gradually advancing to more complex techniques. By implementing these baseball pitching drills for beginners and ensuring consistent practice, young pitchers can develop their skills effectively and gain confidence on the mound. Parents and coaches play a pivotal role in guiding and nurturing these budding talents through fun, educational, and supportive training experiences.